Webflow vs WordPress in 2026: Which One is Right for Your Business?

If you’re building a new website in 2025, chances are you’re stuck between two giants: Webflow and WordPress. Both are powerful, both are popular — but they serve very different needs. In this guide, we break everything down so you can make the right call.

Webflow vs WordPress 2026 Comparison

What is Webflow?

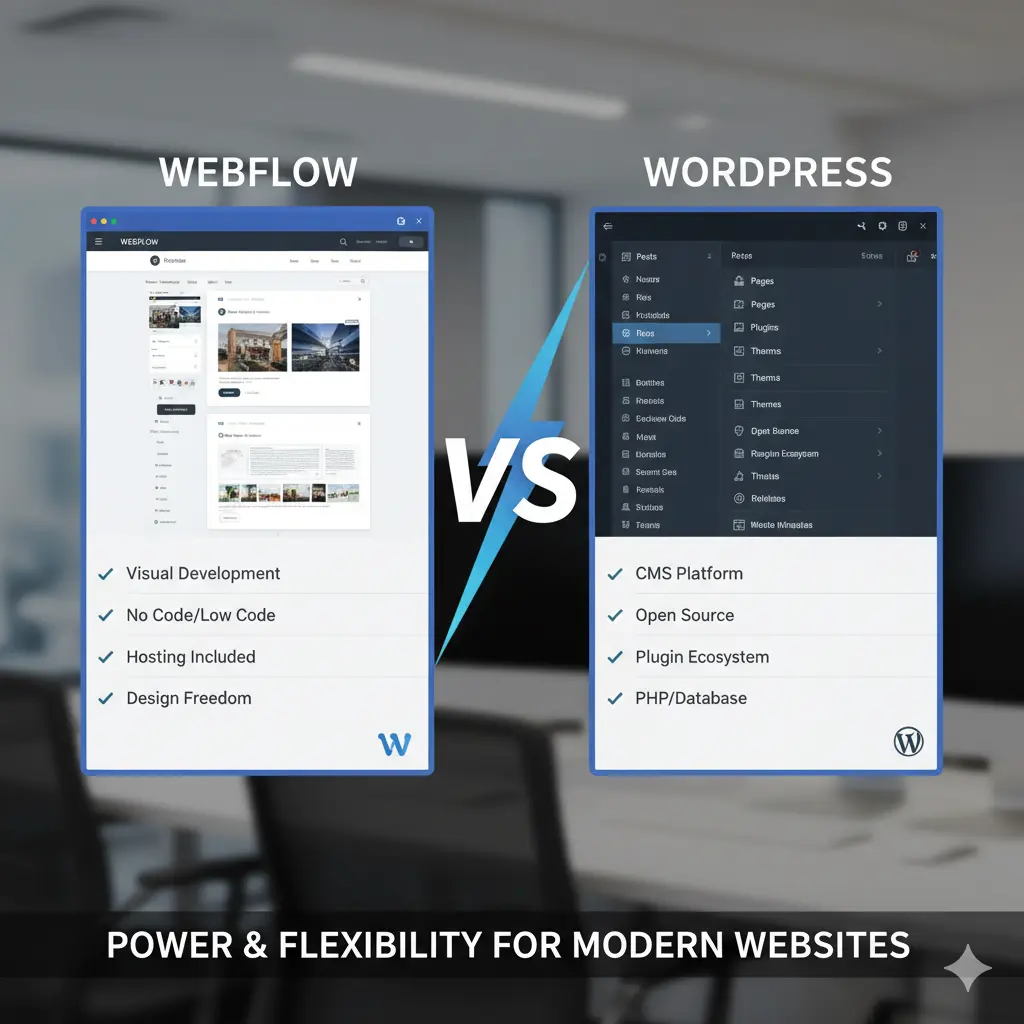
Webflow is a visual web design platform that lets designers and developers build fully custom, production-ready websites without writing code from scratch. It combines a visual editor, a CMS, and hosting — all in one place.

It’s the go-to choice for agencies, SaaS companies, and startups that want pixel-perfect design with blazing fast performance.

What is WordPress?

WordPress powers over 40% of all websites on the internet. It started as a blogging platform but has grown into a full content management system that handles everything from simple blogs to enterprise e-commerce stores.

WordPress is open-source, free to use, and has a massive ecosystem of plugins and themes.

Webflow vs WordPress: Head-to-Head Comparison

1. Ease of Use

Webflow has a steeper learning curve. It’s built for designers who understand layout, spacing, and visual hierarchy.

WordPress is easier to get started with — especially with page builders like Elementor. However, managing plugins, updates, and security can get complicated over time.

Winner: WordPress for beginners. Webflow for designers who want full control.

2. Design Freedom

📸 Image 2 yahan lagao Pexels search: “web design creative agency” Alt Text: Webflow design freedom and customization

This is where Webflow dominates. Every element is completely customizable — no theme limitations, no plugin conflicts. You design exactly what you imagine.

WordPress is limited by your theme. Custom designs often require heavy customization or expensive premium themes.

Winner: Webflow — hands down.

3. Performance and Speed

Webflow sites are hosted on AWS and Fastly CDN by default. Pages load fast without any optimization plugins needed.

WordPress sites can be fast — but only with caching plugins, image optimization, good hosting, and active maintenance.

Winner: Webflow for out-of-the-box speed.

4. SEO Capabilities

Both platforms are excellent for SEO. Webflow gives you full control over meta tags, schema, and clean semantic HTML — all built in. WordPress with Rank Math or Yoast is equally powerful.

Winner: Tie — both are excellent with the right setup.

5. E-Commerce

WordPress with WooCommerce is the king of e-commerce. It handles complex stores, subscriptions, and integrates with every payment gateway.

Webflow has its own e-commerce system but it’s limited for large stores.

Winner: WordPress for serious e-commerce.

6. Cost

Webflow WordPress
Platform $14–$39/month Free
Hosting Included $5–$30/month
Plugins/Themes Minimal $0–$700/year
Maintenance Very Low Medium–High

7. Maintenance

Webflow requires almost zero maintenance — no plugin updates, no security patches.

WordPress requires regular updates and active security management.

Winner: Webflow for hands-off maintenance.

Choosing between Webflow and WordPress for your business

When Should You Choose Webflow?

  • You want a beautiful, custom-designed website
  • You need fast loading speeds without technical work
  • You are a startup, SaaS company, or creative agency
  • You value pixel-perfect design above everything else
  • You want low maintenance and reliable hosting included

When Should You Choose WordPress?

  • You need a complex e-commerce store
  • You want unlimited plugin flexibility
  • You have a large content team managing daily updates
  • You need specific third-party integrations
  • You are working with a tight initial budget

Final Verdict

There is no universal winner — it depends on your goals. For design-focused businesses and startups, Webflow is the smarter choice in 2025. For large e-commerce and content-heavy sites, WordPress remains unbeatable.

At Giga Creatives, we specialize in building high-performance Webflow websites that look stunning and convert visitors into clients. Whether you’re migrating from WordPress to Webflow or starting fresh, our team is ready.

Ready to build your Webflow website? Contact us today — we’ll get back to you within 24 hours.

How to Use Classes/Combo in Webflow: A Comprehensive Guide

Classes in webflow are the most essential part of webflow. It can make your work much faster if done in proper manner and skill also can make your work messy so lets learn how to utilize classes in webflow step by step.

What is Webflow?

Webflow is a no-code web design tool that empowers users to build and design websites through which you can publish content, without typing a single line of code. This tool acts as both a CMS (Content Management System) and as a visual design tool, so it is great for designers, developers, and marketers. Webflow is the best tool for creating fully responsive websites that look good on any device they are opened from.

What is a Class in Webflow?

In Webflow, a class is a set of styles that you use to style several elements on your webpage concurrently. It covers how an element appears (color, size, margins, font etc,), hence if the same class is used in many elements, their appearance will tend to be similar to each other across the website.

What is Combo Class in Webflow?

A combo class in Webflow is a variation of an existing class, allowing you to modify specific elements while retaining the core styling of the original class. For example, if you have a primary-button class for all buttons but want a unique version for a particular button (e.g., changing its color), you can add a combo class like primary-button red. This creates a modified version without affecting the base class, ensuring consistency while allowing for nuanced customizations in specific contexts.


Why Are Classes Important?

  • Reusability: Classes enableyou to apply style in different elements, something that cannot be achieved through IDs. Some of the same features need to be styled in a different way; rather than styling each of them separately, you can create a class and add it whenever you want.
  • Consistency: As with the selectors, classes keep your design consistent because you will have to apply the same rules time and again.
  • Efficiency: Hear classes as a useful way of accelerating the process of designing. This is important because by editing one class you are actually able to change the design of several objects in your site.
  • Scalability: When your site gets larger, then this let alone will take time as a rule and using classes let alone makes further alteration easier.

This part explores the use case of classes in Webflow as explained below:

Suppose that when creating the design of a web site all the buttons on the site should look the same; they should have round corners, have a blue background with white text and some padding. Instead of defining each button individually, you can just define a class, namely primary-button. It can then be reused on all buttons so everyone on the site will be consistent with one Another. At a later time if you wish to propagate new styles, for instance, change the color of the button, and all buttons will change if you edit the primary-button class.

How to Use Classes in Webflow: Step-by-Step Guide

1. Create a New Class

  • Click on any element of which you would like to alter the appearance.
  • In the Style Panel that is on the right side of the interface, look for the Selector Field – it is normally located at the very top.
  • For the element you want to style, simply type the name of your class (For example: hero-section, main-button) and press the Enter key. This creates a new class.

2. Apply Styling to the Class

  • That is when you can start applying styles in the newly created class. In the Style Panel use settings like padding, margin, font size, background color, etc., and change it easily whenever required.
  • As a result, the styling attributes of class will be conferred upon all elements inherent in this class.

3. This Class also applies to other Elements.

  • To reuse the class, select another element, and type the class name in the Selector Field again. Select it from a dropdown list and all new elements will receive the applied styling.

4. Use Combo Classes

  • Combo classes enable you to generate modifications of an existing class. For example, let us assume you have a primary-button class and you want a red button for one particular section then you will give it the combo class as primary-button red. This enables the alteration of only the new instance without effecting the major global class in existence.

5. Editing a Class

  • If you have to apply change to the design in multiple places, just target any object with this class, and modify it’s stylistic properties on the Style tab. WEll, changes will have to be made in the class and all instances of that class.

6. Manage Classes

  • Here Webflow has made it quite easy to have control over your classes. Said more specifically, organize the classes as you like with the Selector Field, delete unnecessary classes, and see the organization of the styles.
  • Remember that it’s useful to choose meaningful names for your classes to make construction of your design clear.

7. Inheritance in Webflow Classes

  • Webflow classes have inheritance in that the contents of the child class can be overridden by the properties of the parent class.
  • Webflow utilizes an inheritance pattern of child elements that depend on parent elements for its style. This means that any child elements of a parent class (for example, a section) can also be styled in terms of color or fonts and there is no problem to manage the layout of content.

8. Classes in Webflow and the Proper Way in Their Usage

  • Use Meaningful Names: They said, descriptive names like nav-bar or footer-links are easier to handle when naming your classes.
  • Limit the Number of Combo Classes: Learners experience difficulty in style distribution when they have taken many combo classes hence the excess should not be taken.
  • Keep it Consistent: There should be no two duplicated buttons, no mixing them up between the sets, thus, it is advised to keep a consistent naming pattern going with our primary-menu buttons as primary-button, and the secondary ones as the secondary button.
  • Use Global Styles: For better control, set the global elements such as typography and color throughout a project by using base classes.

Conclusion:

Webflow offers course that are important to avoid delay in the layout of a website. They assist in keeping things consistent, grow your design, and cut your work time in half in case you need to style several components. By following the steps of this guide you will be able to achieve full potentials of classes to create stylistically sound, and more important – easy in assembly websites. Regardless of whether you are developing a simple one-page landing page or a multimillion-page site, one should learn how to use classes.

Get a Quote